vagrant(10)多级环境
多机环境
搭建一个简单的分布式系统(如 Web + DB + Cache 架构)
内容
- 多机配置:在一个
Vagrantfile中定义多台虚拟机。 - 多机通信:通过私有网络实现虚拟机间通信。
- 实际案例:
- 基础案例:搭建 Web + DB 架构。
- 扩展案例:添加 Cache 层(Redis),模拟微服务架构。
- 高级配置:
- 配置主机名解析(DNS 或 hosts 文件)。
- 使用 Provision 自动化部署服务。
- 动态分配 IP 和端口。
- 最佳实践:编写清晰、可维护的多机配置。
官方文档
操作
1.配置基础多机环境(Web + DB 架构)
- 初始化项目:
- 创建一个新目录并初始化 Vagrant 项目:
1
2
3
mkdir vagrant-multi-machine
cd vagrant-multi-machine
vagrant init
- 创建一个新目录并初始化 Vagrant 项目:
- 定义多机配置:
- 编辑
Vagrantfile,定义两台虚拟机:Web 服务器和数据库服务器:1
2
3
4
5
6
7
8
9
10
11
12
13
14
15
16
17
18
19
20
21
22
23
24
25
26
27
28
29
30
31
32
33
34
35
36Vagrant.configure("2") do |config|
# Web 服务器
config.vm.define "web" do |web|
web.vm.box = "ubuntu/jammy64"
web.vm.hostname = "web"
web.vm.network "private_network", ip: "192.168.56.10"
web.vm.network "forwarded_port", guest: 80, host: 8080
web.vm.provision "shell", inline: <<-SHELL
apt update
apt install -y nginx
systemctl start nginx
systemctl enable nginx
echo "<h1>Welcome to Web Server</h1>" > /usr/share/nginx/html/index.html
SHELL
end
# 数据库服务器
config.vm.define "db" do |db|
db.vm.box = "Ubuntu/jammy64"
db.vm.hostname = "db"
db.vm.network "private_network", ip: "192.168.56.11"
db.vm.network "forwarded_port", guest: 3306, host: 3306
db.vm.provision "shell", inline: <<-SHELL
apt update
apt install -y mysql-server
systemctl start mysql
systemctl enable mysql
mysql -e "CREATE DATABASE app_db;"
mysql -e "CREATE USER 'app_user'@'%' IDENTIFIED BY 'password';"
mysql -e "GRANT ALL PRIVILEGES ON app_db.* TO 'app_user'@'%';"
mysql -e "FLUSH PRIVILEGES;"
sed -i 's/bind-address.*/bind-address = 0.0.0.0/' /etc/mysql/mysql.conf.d/mysqld.cnf
systemctl restart mysql
SHELL
end
end
- 编辑
- 启动多机环境:
- 启动所有虚拟机:
1
vagrant up
- 启动所有虚拟机:
- 测试通信:
- 登录 Web 服务器:
1
vagrant ssh web
- 测试与 DB 服务器通信:
1
ping 192.168.56.11 # 应有响应
- 安装 MySQL 客户端并测试连接:
1
2
sudo apt install -y mysql-client
mysql -h 192.168.56.11 -u app_user -ppassword -e "SHOW DATABASES;"
- 登录 Web 服务器:
- 验证 Web 服务:
- 主机浏览器访问
http://localhost:8080,显示:
Welcome to Web Server
- 主机浏览器访问
2.扩展多机环境(添加 Cache 层)
- 添加 Redis 缓存服务器:
- 修改
Vagrantfile,添加第三台虚拟机:1
2
3
4
5
6
7
8
9
10
11
12
13
14# 缓存服务器
config.vm.define "cache" do |cache|
cache.vm.box = "Ubuntu/jammy64"
cache.vm.hostname = "cache"
cache.vm.network "private_network", ip: "192.168.56.12"
cache.vm.network "forwarded_port", guest: 6379, host: 6379
cache.vm.provision "shell", inline: <<-SHELL
apt update
apt install -y redis-server
sed -i 's/bind 127.0.0.1/bind 0.0.0.0/' /etc/redis/redis.conf
systemctl restart redis
systemctl enable redis
SHELL
end
- 修改
- 测试 Redis 连接:
- 登录 Web 服务器:
1
vagrant ssh web
- 安装 Redis 客户端并测试:
1
2
3
4sudo apt install -y redis-tools
redis-cli -h 192.168.56.12 ping # 输出:PONG
redis-cli -h 192.168.56.12 set mykey "Hello Redis" # 设置键值
redis-cli -h 192.168.56.12 get mykey # 输出:Hello Redis
- 登录 Web 服务器:
3.配置主机名解析(简化通信)
- 手动配置 hosts 文件:
- 在 Web 服务器上添加 hosts 条目:
1
2
3
4web.vm.provision "shell", inline: <<-SHELL
echo "192.168.56.11 db" >> /etc/hosts
echo "192.168.56.12 cache" >> /etc/hosts
SHELL - 在 DB 和 Cache 服务器上类似配置。
- 在 Web 服务器上添加 hosts 条目:
- 使用 Vagrant 插件自动管理 hosts:
- 安装
vagrant-hostmanager插件:1
vagrant plugin install vagrant-hostmanager
- 修改
Vagrantfile,启用插件:1
2
3config.hostmanager.enabled = true
config.hostmanager.manage_host = true
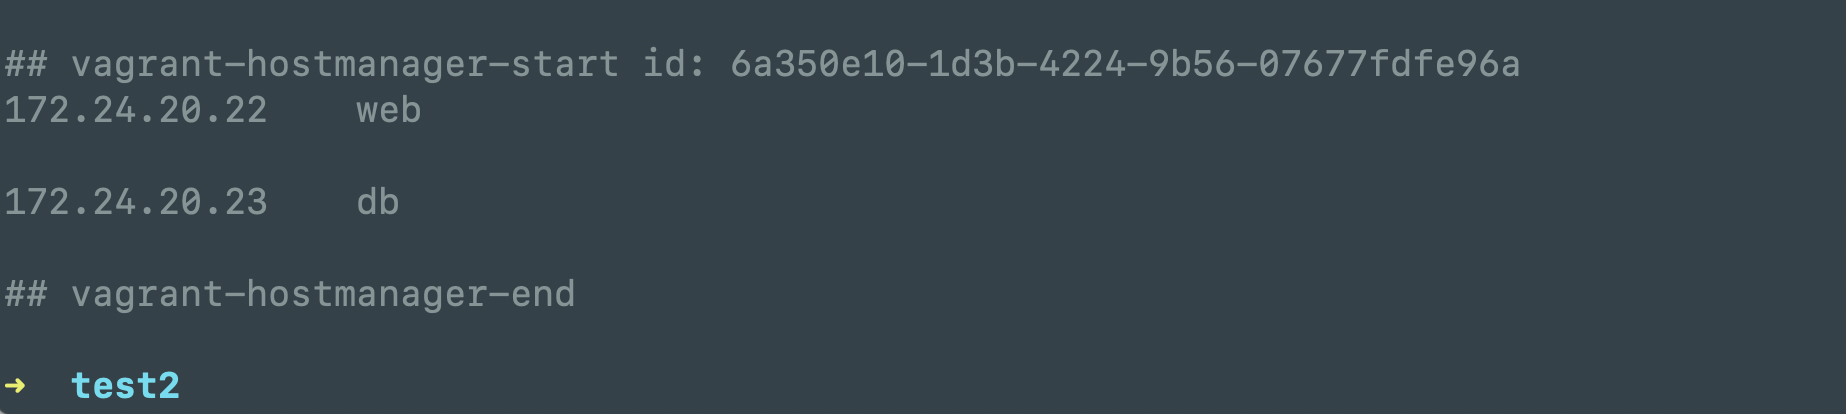
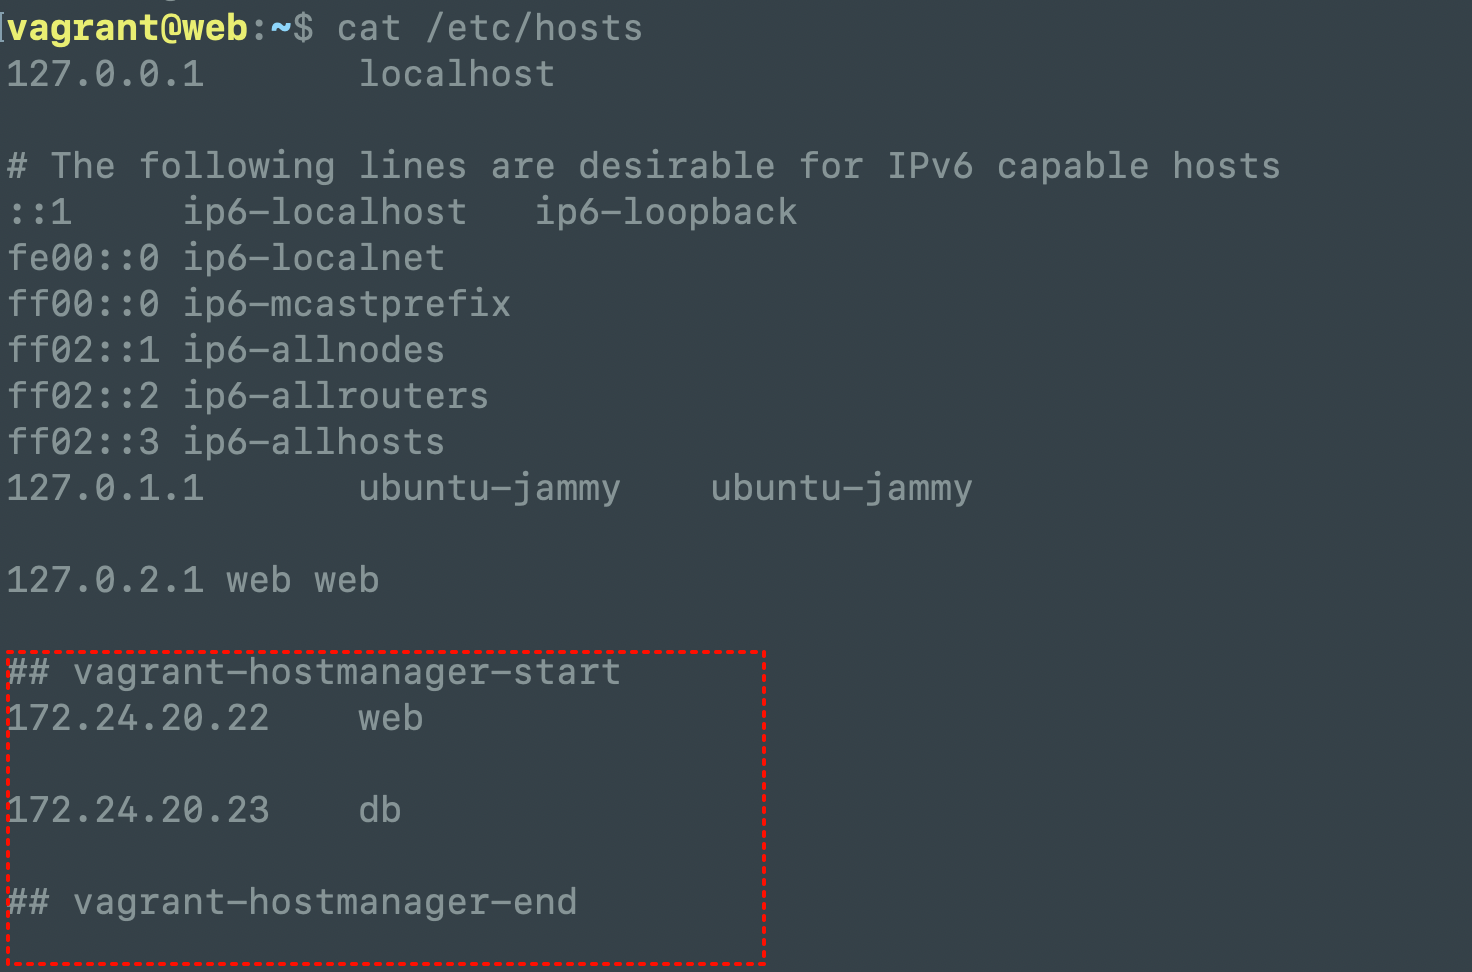
config.hostmanager.manage_guest = true - 启动后,主机和虚拟机的
/etc/hosts会自动更新,支持主机名访问:1
2vagrant ssh web
ping db # 输出:PING db (192.168.56.11)
- 安装
4.动态 IP 分配(DHCP)
- 使用私有网络 DHCP:
- 如果不想手动指定 IP,可以使用 DHCP 分配:
1
2
3
4config.vm.define "web" do |web|
web.vm.box = "Ubuntu/jammy64"
web.vm.network "private_network", type: "dhcp"
end - 启动后查看分配的 IP:
1
2vagrant ssh web
ip addr show | grep inet - 注意:DHCP 分配的 IP 可能每次启动变化,建议生产环境使用静态 IP。
- 如果不想手动指定 IP,可以使用 DHCP 分配:
5.综合案例:Web 应用连接 DB 和 Cache
- 部署 Node.js Web 应用:
- 修改 Web 服务器的 Provision,安装 Node.js 和 Redis 客户端:
1
2
3
4
5
6
7
8
9
10
11
12
13
14
15
16
17
18
19
20
21
22
23
24
25
26
27
28
29
30
31
32web.vm.provision "shell", inline: <<-SHELL
apt update
curl -fsSL https://deb.nodesource.com/setup_18.x | bash -
apt install -y nodejs redis-tools
npm install express mysql redis
echo 'const express = require("express");
const mysql = require("mysql");
const Redis = require("redis");
const app = express();
const mysqlConn = mysql.createConnection({
host: "db",
user: "app_user",
password: "password",
database: "app_db"
});
const redisClient = Redis.createClient({ url: "redis://cache:6379" });
(async () => {
await redisClient.connect();
})();
app.get("/", async (req, res) => {
mysqlConn.query("SELECT 1", (err, results) => {
if (err) return res.status(500).send("DB Error");
redisClient.set("visit", "1");
redisClient.get("visit", (err, val) => {
res.send(`DB OK, Redis Value: ${val}`);
});
});
});
app.listen(3000, () => console.log("Server running on port 3000"));' > app.js
node app.js &
SHELL
web.vm.network "forwarded_port", guest: 3000, host: 3000
- 修改 Web 服务器的 Provision,安装 Node.js 和 Redis 客户端:
- 启动并验证:
- 启动所有虚拟机:
1
vagrant up
- 主机浏览器访问
http://localhost:3000,显示:
DB OK, Redis Value: 1
- 启动所有虚拟机:
6.代码示例
基础多机配置:
1
2
3
4
5
6
7
8config.vm.define "web" do |web|
web.vm.box = "Ubuntu/jammy64"
web.vm.network "private_network", ip: "192.168.56.10"
end
config.vm.define "db" do |db|
db.vm.box = "Ubuntu/jammy64"
db.vm.network "private_network", ip: "192.168.56.11"
end扩展多机配置(带 Cache):
1
2
3
4
5
6
7
8
9
10config.vm.define "cache" do |cache|
cache.vm.box = "Ubuntu/jammy64"
cache.vm.network "private_network", ip: "192.168.56.12"
cache.vm.provision "shell", inline: <<-SHELL
apt update
apt install -y redis-server
sed -i 's/bind 127.0.0.1/bind 0.0.0.0/' /etc/redis/redis.conf
systemctl restart redis
SHELL
end主机名解析(hosts 文件):
1
2
3
4web.vm.provision "shell", inline: <<-SHELL
echo "192.168.56.11 db" >> /etc/hosts
echo "192.168.56.12 cache" >> /etc/hosts
SHELLNode.js 应用连接 DB 和 Cache:
1
2
3
4
5
6
7
8
9
10
11
12
13
14
15
16
17
18
19
20
21
22
23
24const express = require("express");
const mysql = require("mysql");
const Redis = require("redis");
const app = express();
const mysqlConn = mysql.createConnection({
host: "db",
user: "app_user",
password: "password",
database: "app_db"
});
const redisClient = Redis.createClient({ url: "redis://cache:6379" });
(async () => {
await redisClient.connect();
})();
app.get("/", async (req, res) => {
mysqlConn.query("SELECT 1", (err, results) => {
if (err) return res.status(500).send("DB Error");
redisClient.set("visit", "1");
redisClient.get("visit", (err, val) => {
res.send(`DB OK, Redis Value: ${val}`);
});
});
});
app.listen(3000, () => console.log("Server running on port 3000"));
7.错误处理
- 虚拟机通信失败:
- 问题:
ping无响应。 - 解决:
- 确保 IP 地址在同一网段。
- 检查防火墙规则:
1
sudo ufw allow from 192.168.56.0/24
- 确认网络接口已启用:
1
ip addr show | grep eth1
- 问题:
- MySQL 连接失败:
- 问题:提示无法连接到数据库。
- 解决:
- 确保 MySQL 服务运行:
1
sudo systemctl status mysql
- 确认
bind-address为0.0.0.0:1
grep bind-address /etc/mysql/mysql.conf.d/mysqld.cnf
- 检查端口 3306 是否开放:
1
sudo ufw allow 3306/tcp
- 确保 MySQL 服务运行:
- Redis 连接失败:
- 问题:
redis-cli连接失败。 - 解决:
- 确保 Redis 服务运行:
1
sudo systemctl status redis
- 确认
bind设置为0.0.0.0:1
grep bind /etc/redis/redis.conf
- 检查端口 6379 是否开放:
1
sudo ufw allow 6379/tcp
- 确保 Redis 服务运行:
- 问题:
- 资源不足:
- 问题:多机启动失败,提示内存或 CPU 不足。
- 解决:
- 减少每台虚拟机的资源:
1
2
3
4web.vm.provider "virtualbox" do |vb|
vb.memory = "512"
vb.cpus = 1
end - 检查主机资源使用情况:
1
free -m
- 减少每台虚拟机的资源:
- 主机名解析失败:
- 问题:
ping db失败。 - 解决:
- 手动检查
/etc/hosts:1
cat /etc/hosts
- 如果使用
vagrant-hostmanager,确保插件已安装并启用。
- 手动检查
- 问题:
8.常见问题与解决(FAQ)
- Q:多机启动太慢?
A:减少每台虚拟机的资源,或使用vagrant up --parallel并行启动。 - Q:虚拟机间通信失败?
A:检查 IP 地址、防火墙规则、网络接口状态,使用tcpdump或traceroute调试。 - Q:Redis 连接超时?
A:确认端口开放,bind设置为0.0.0.0,检查防火墙。 - Q:主机名解析不生效?
A:确保/etc/hosts条目正确,或使用vagrant-hostmanager插件。